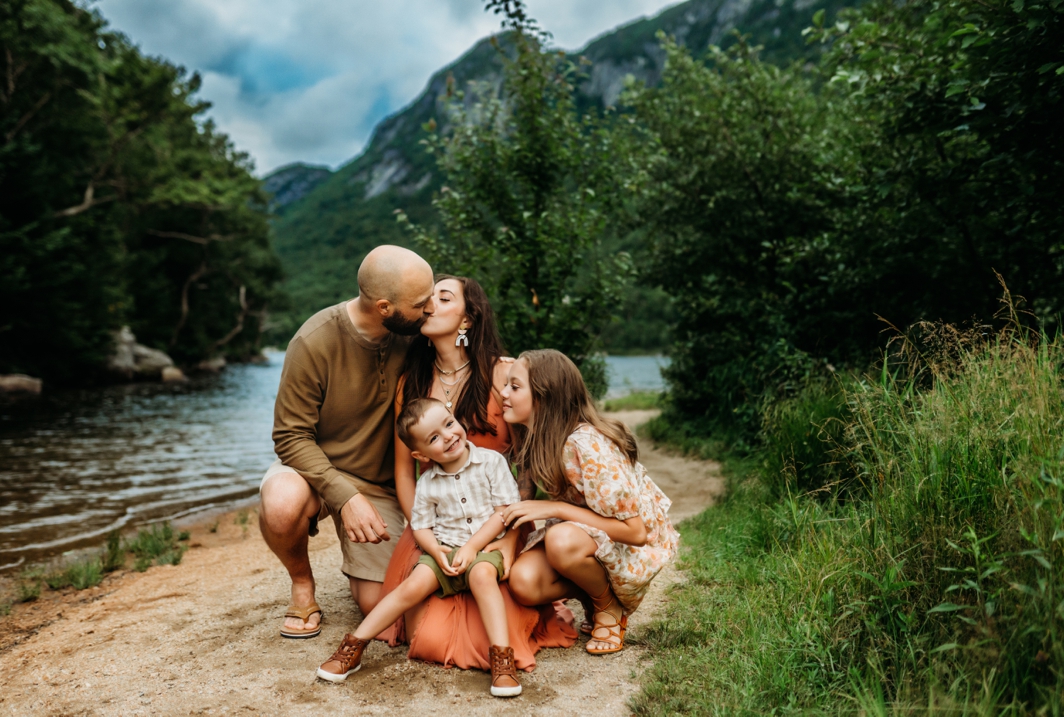
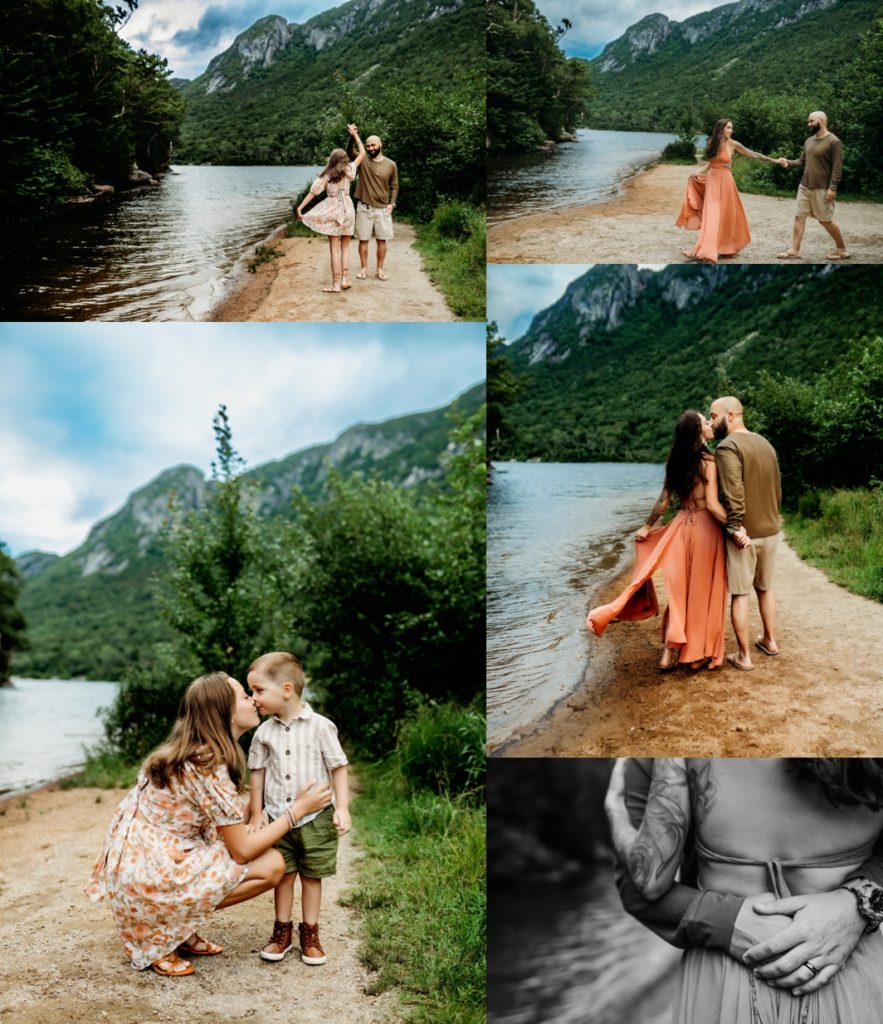
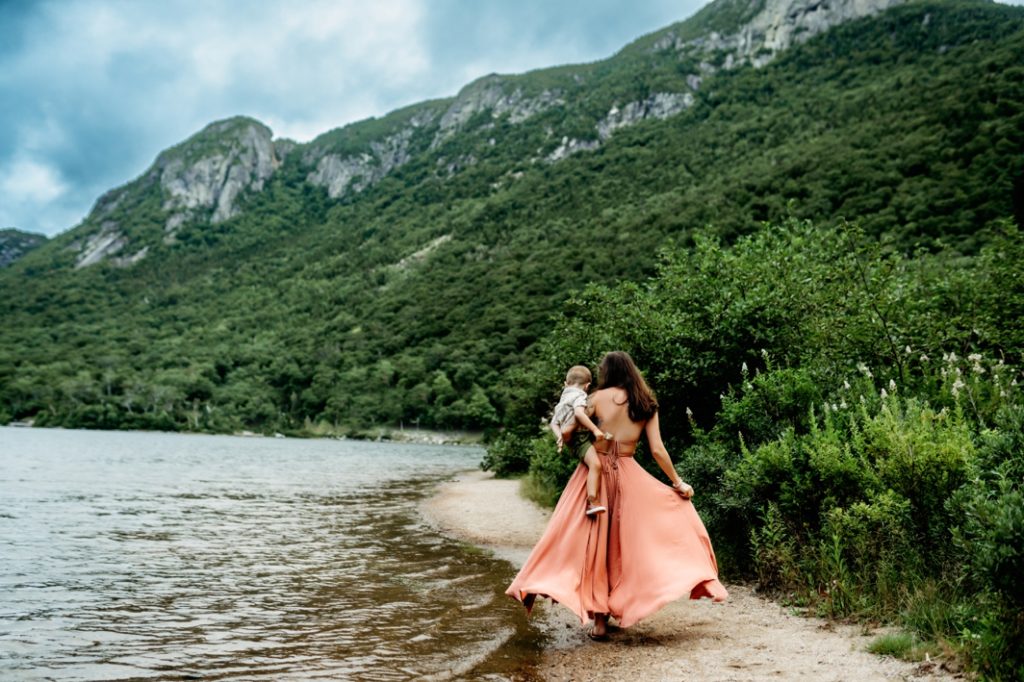
When clouds are on the forecast, there are many photographers who get nervous. You would be surprised how many people are not comfortable photographing in overcast. While it is very different than shooting than sun, it doesn’t have to be scary! Here are my best tips for photographing in overcast.
Tip #1: Face The “Sun”
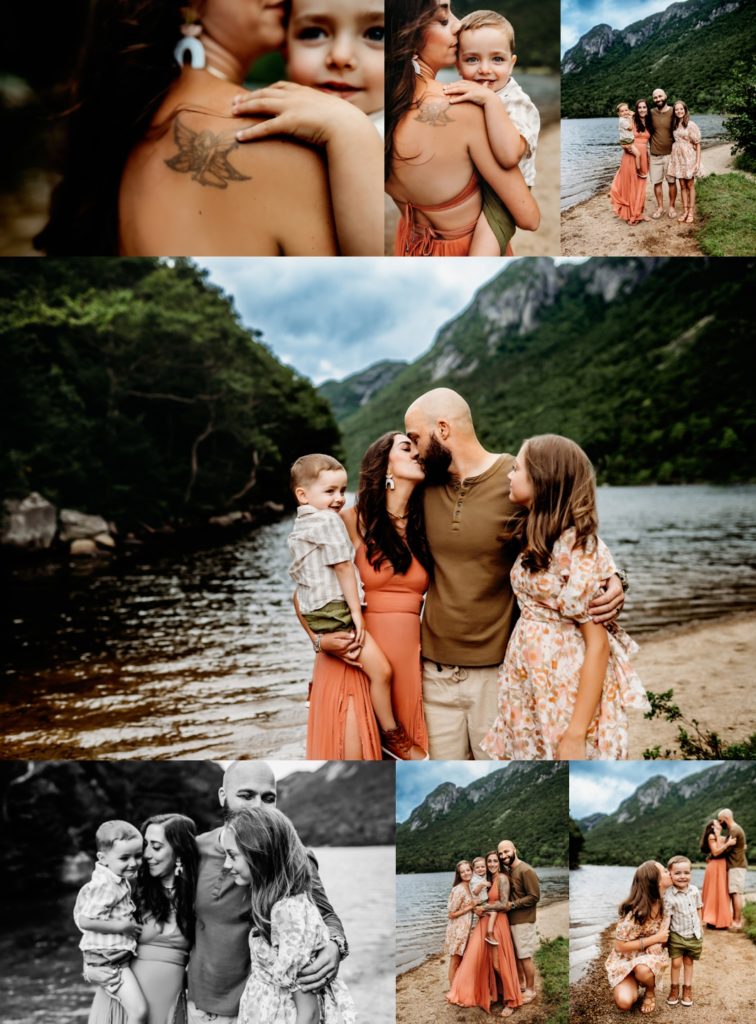
We typically use light very differently on sunny days, where we are side light or backlighting our subjects. In overcast, we want them to face exactly where the sun source would be in order to make sure they have the best light on their skin. If you’re unsure where the sun is at your location, use the Sun Seeker app! It will show you exactly where the sun is at each hour of the day.
Tip #2: Correctly Expose Your Subjects
It’s really easy to have blown highlights on overcast days, especially with skin. To avoid this, expose correctly in camera or even a half stop underexposed, at most. Do not overexpose on an overcast day if you want to have great skin tones, and you don’t want to underexpose too much, either. It’s a delicate balance.
Tip #3: Avoid Shooting In Woods
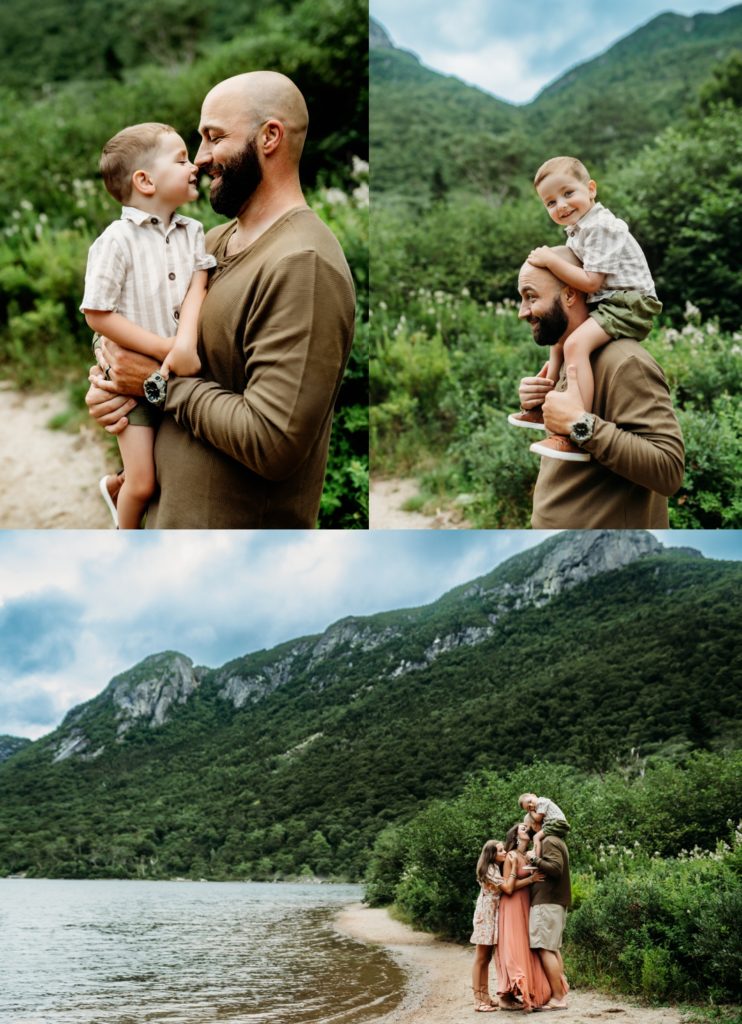
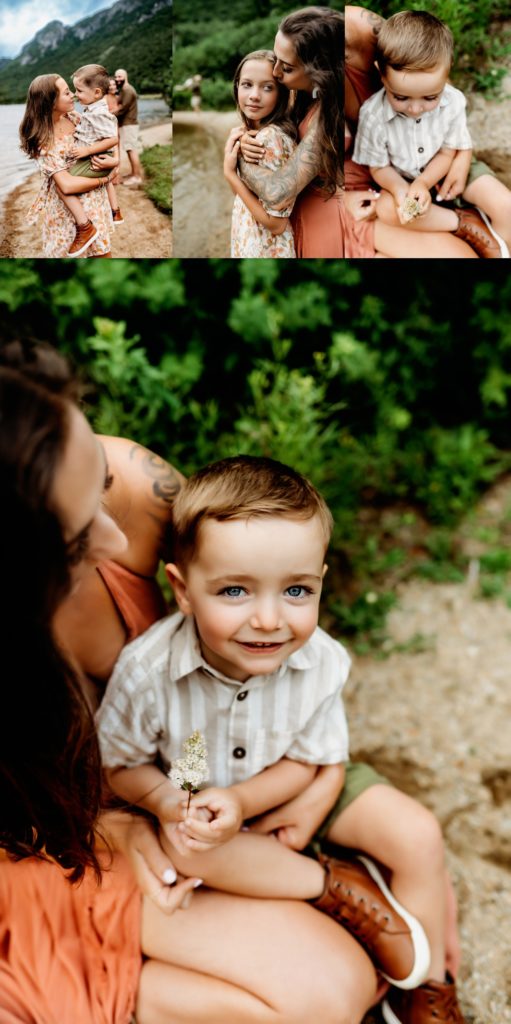
I am personally not a fan of ever shooting in the woods, because I like to have an open sky on my subjects’ faces. On overcast days, though, it’s especially important to pay attention to light and to have as open of an area as possible. Places like thicker woods are going to add even more shadow to your subjects, so it is important to avoid these on overcast days.
Tip #4: Don’t Be Afraid of Brushes
When you’re editing your images, don’t be afraid to brush skin and eyes to get them exactly where you want without having to change the entire image. I do a subtle contrast decrease and increased blacks on the eye area to pop them a bit more and avoid those raccoon eyes that can happen with overcast light. I will also decrease highlights on cheeks just a smidge if I find them looking to popped. Don’t be afraid to use brushes to help give the best skin tones! I especially love decreasing highlights and increasing saturation and dehaze on overcast skies to give them that great pop!
Tip #5: Shoot Earlier Than You Normally Would
It’s important to understand that you won’t have a true Golden Hour in overcast. It therefore gets darker quicker, so it’s important to start shooting earlier. Just how much earlier, though? It depends on the heaviness of the overcast. If it’s lightly overcast, about 30 minutes will usually do. If it’s super thick overcast, though, I have shot as early as two hours prior to sunset and had my images come out great.
What do you think, photographers? Did these tips for photographing in overcast help you?


